Camera Setup
The default version of RoboFly has 2 cameras:
- IMX296 mounted to the front, RGB global shutter camera
- OV9281 mounted down, MONO global shutter camera
The IMX camera can be used as is, however the OV9281 needs to have the lens swapped and refocused. For camera install, you will need:
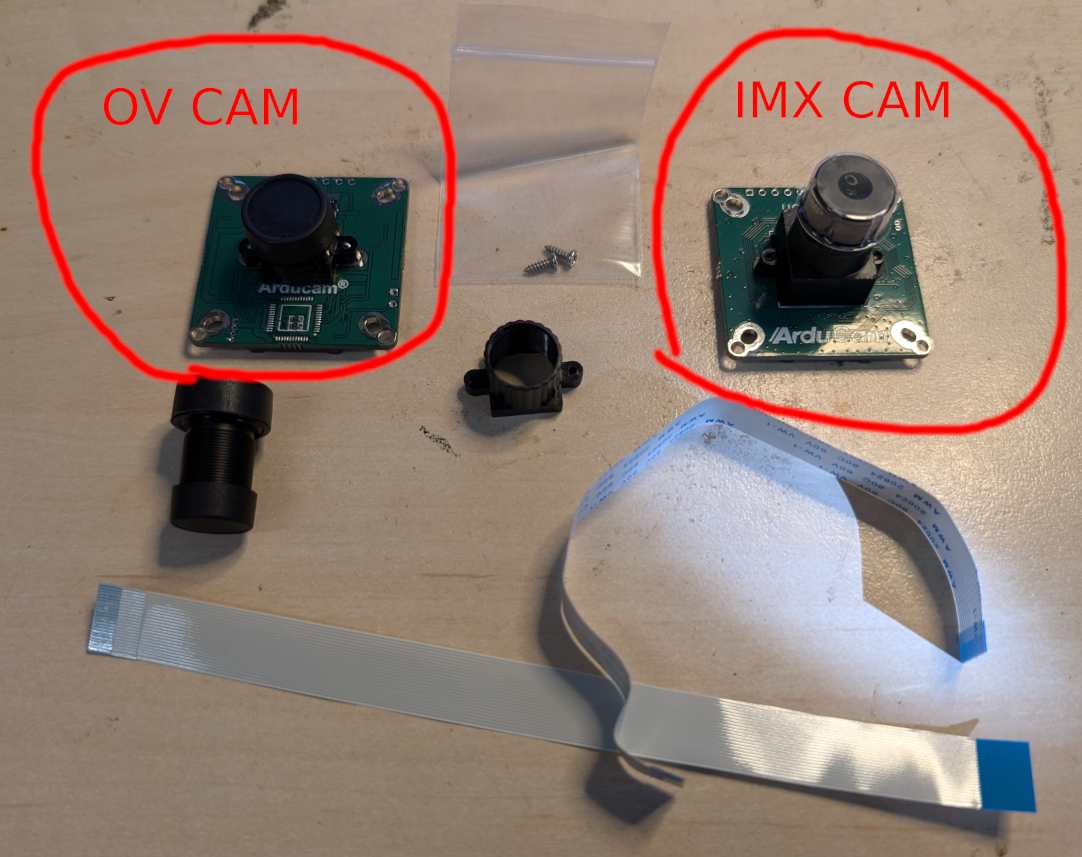
- IMX camera
- OV camera
- 3D printed camera mounts
- Longer lens holder for OV camera
- Lens for OV camera
- 2x M3 inserts (for 3D prints)
- 2x M3x4 Bolts
- 4x M2x8 Bolts and M2 nuts
- 4x M2x10 Bolts and M2 nuts
- 1x 150mm ribbon cable (For OV camera, the IMX camera comes with 150mm cable in the package)
Preparation
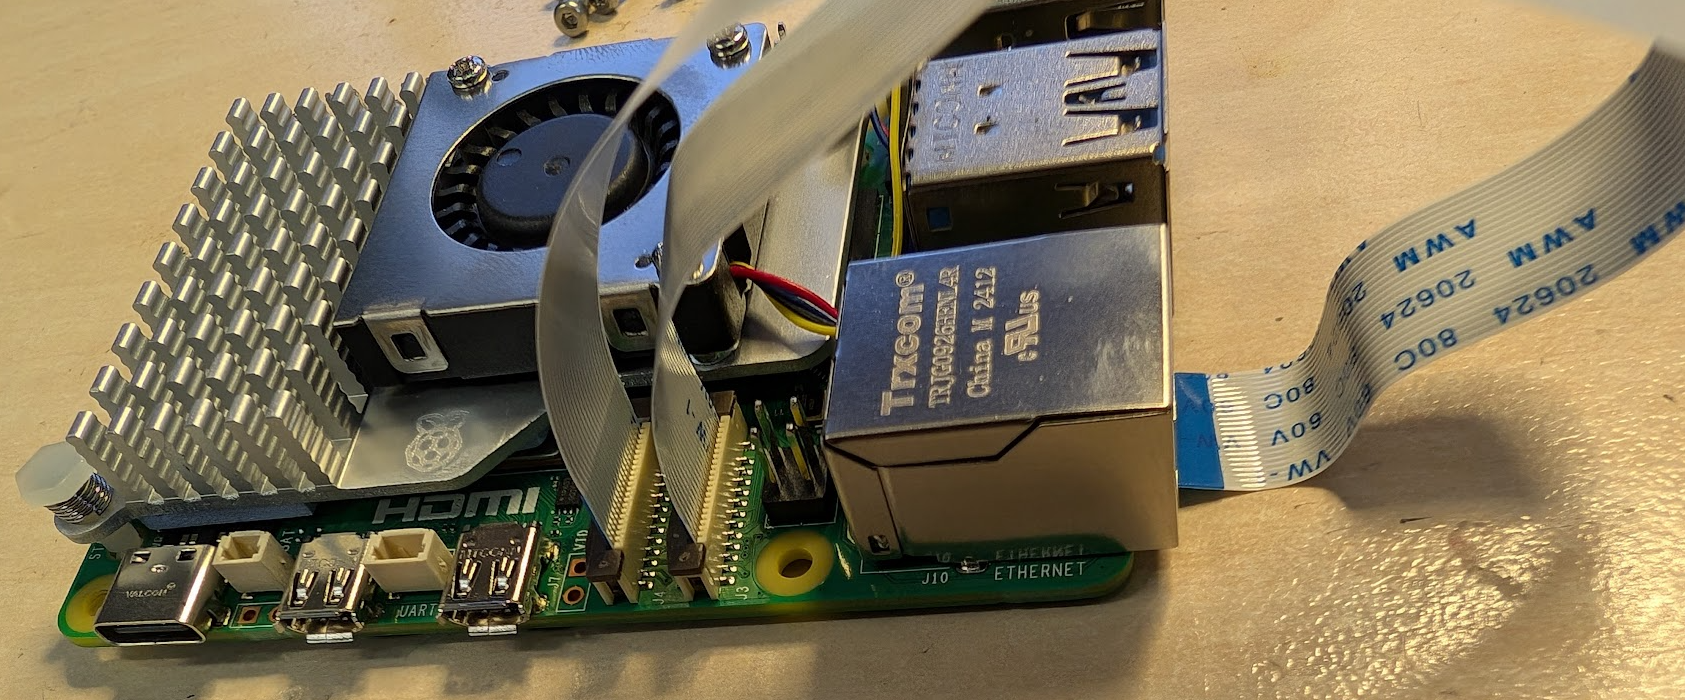
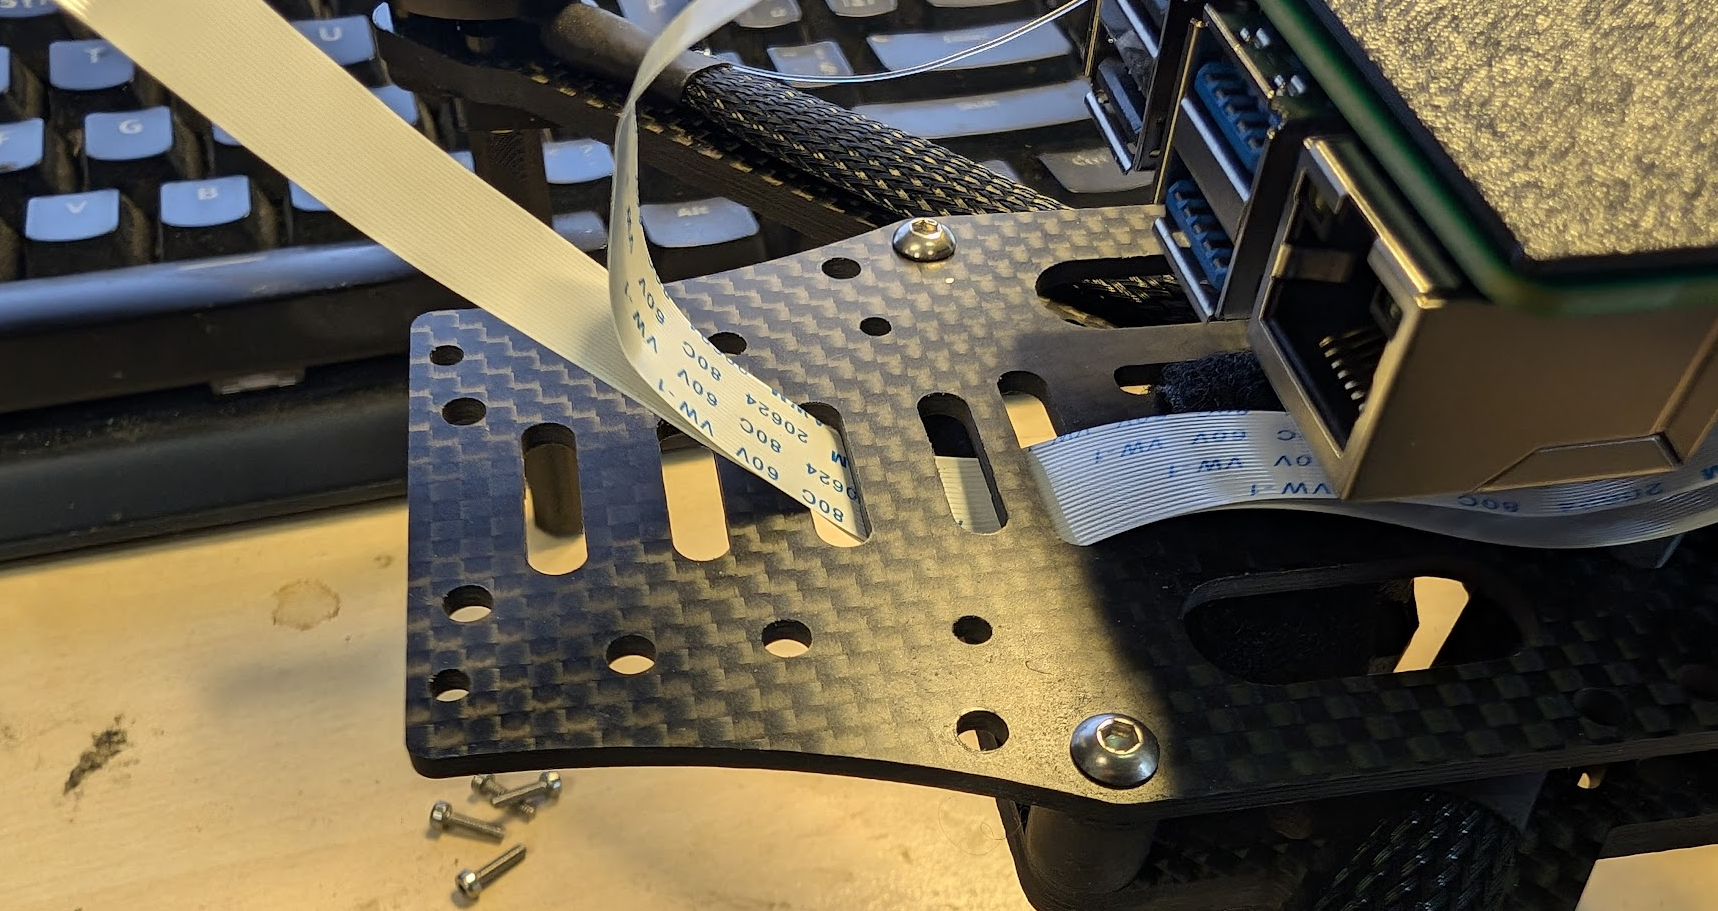
- Get the two 150 mm ribbon cables and connect them to Raspberry. Remove Raspberry from the drone for easier install.
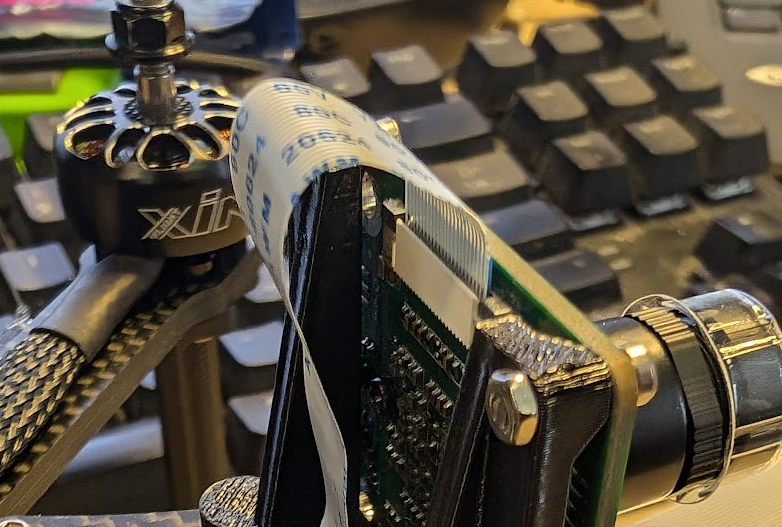
- Then connect the Raspberry back and route the cables through the board like this:
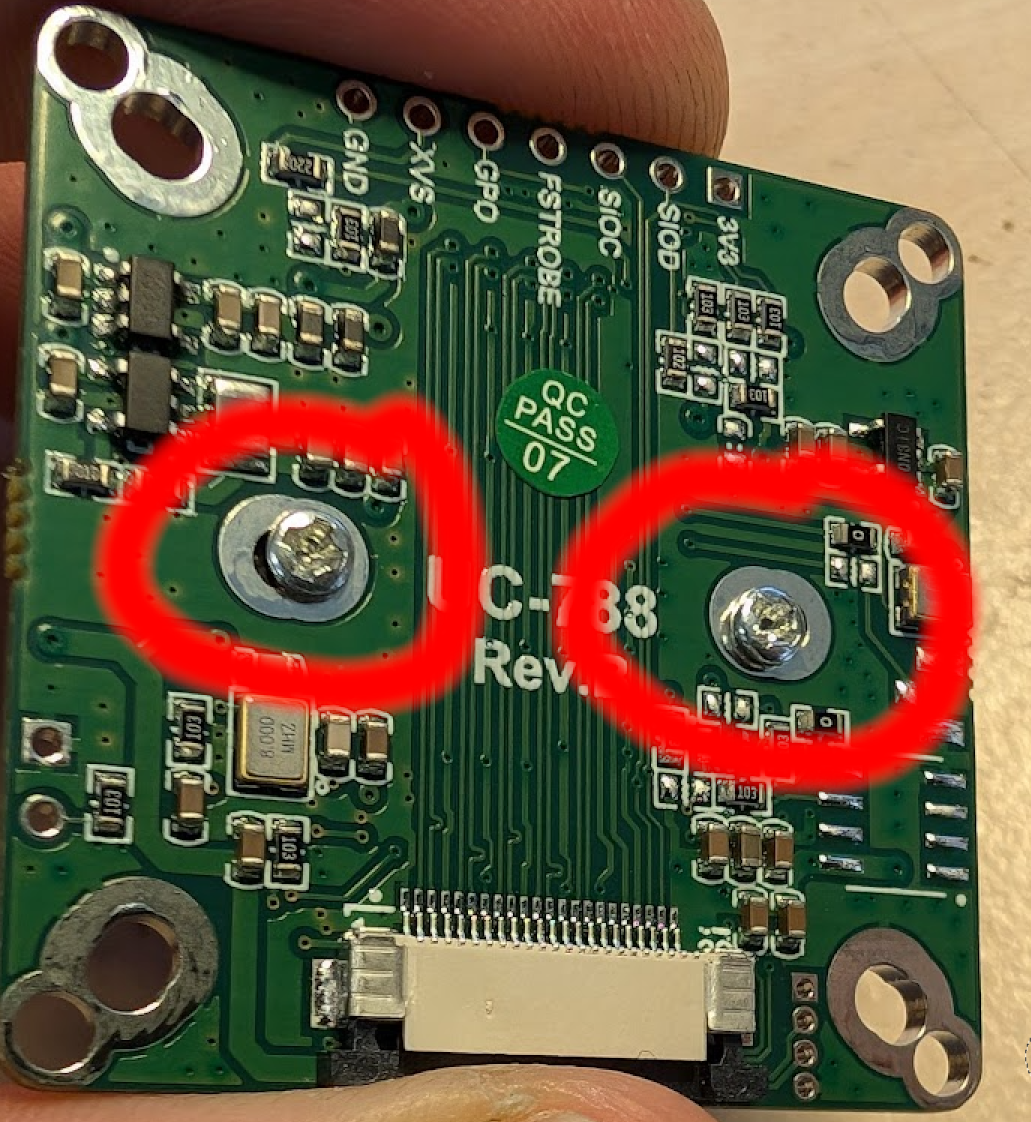
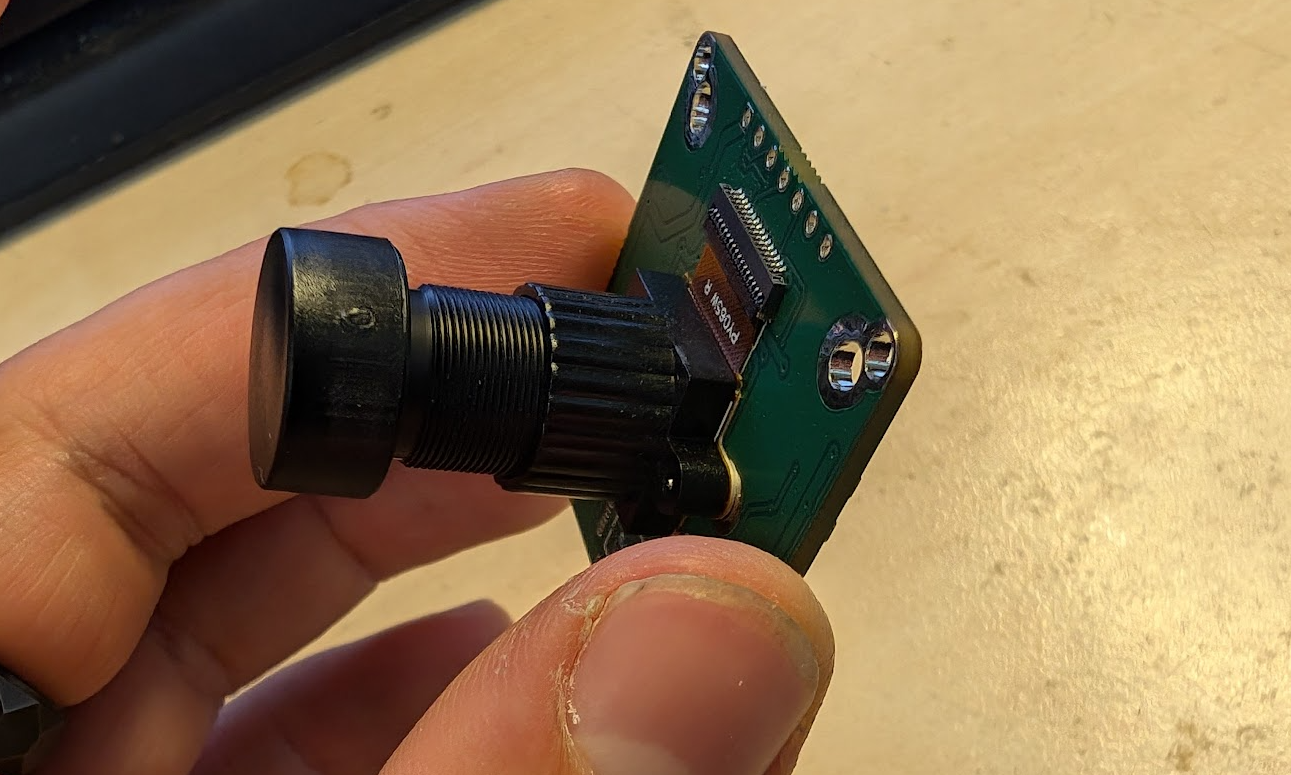
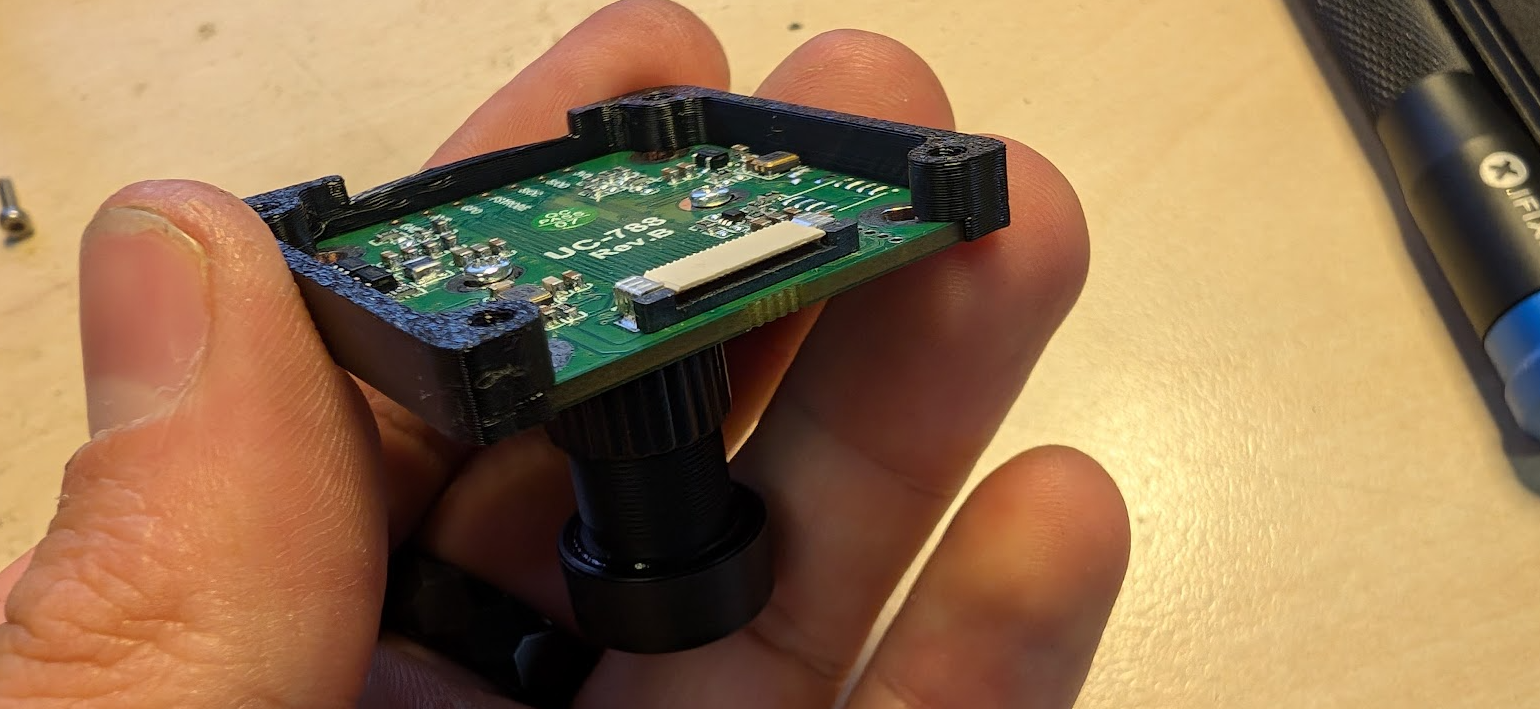
- Remove the Lens holder on the OV camera by removing the two bolts in the back:
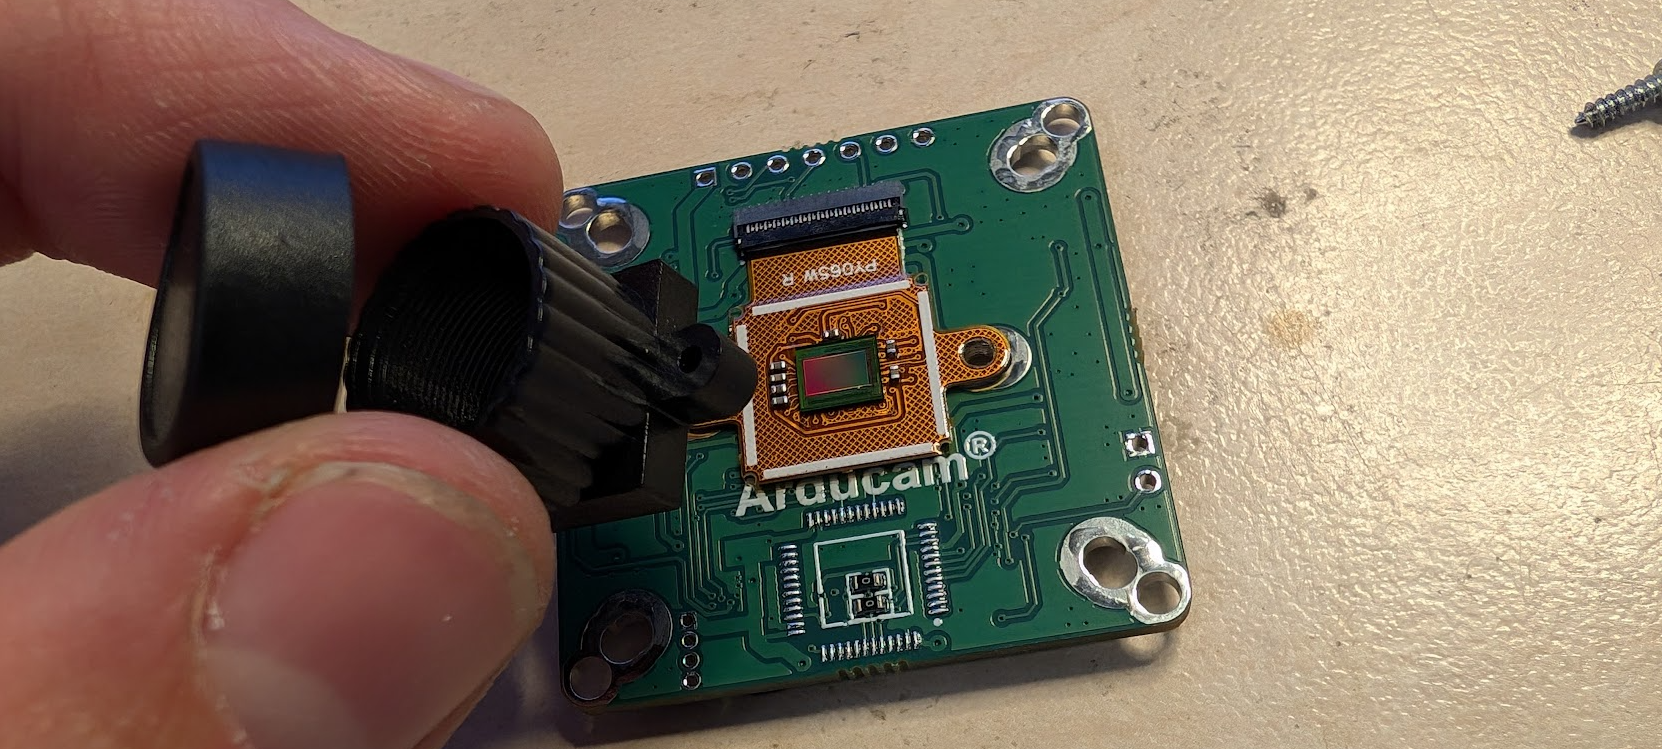
- Replace the lens holder with the longer one. Be careful not to damage or contaminate the imaging chip!
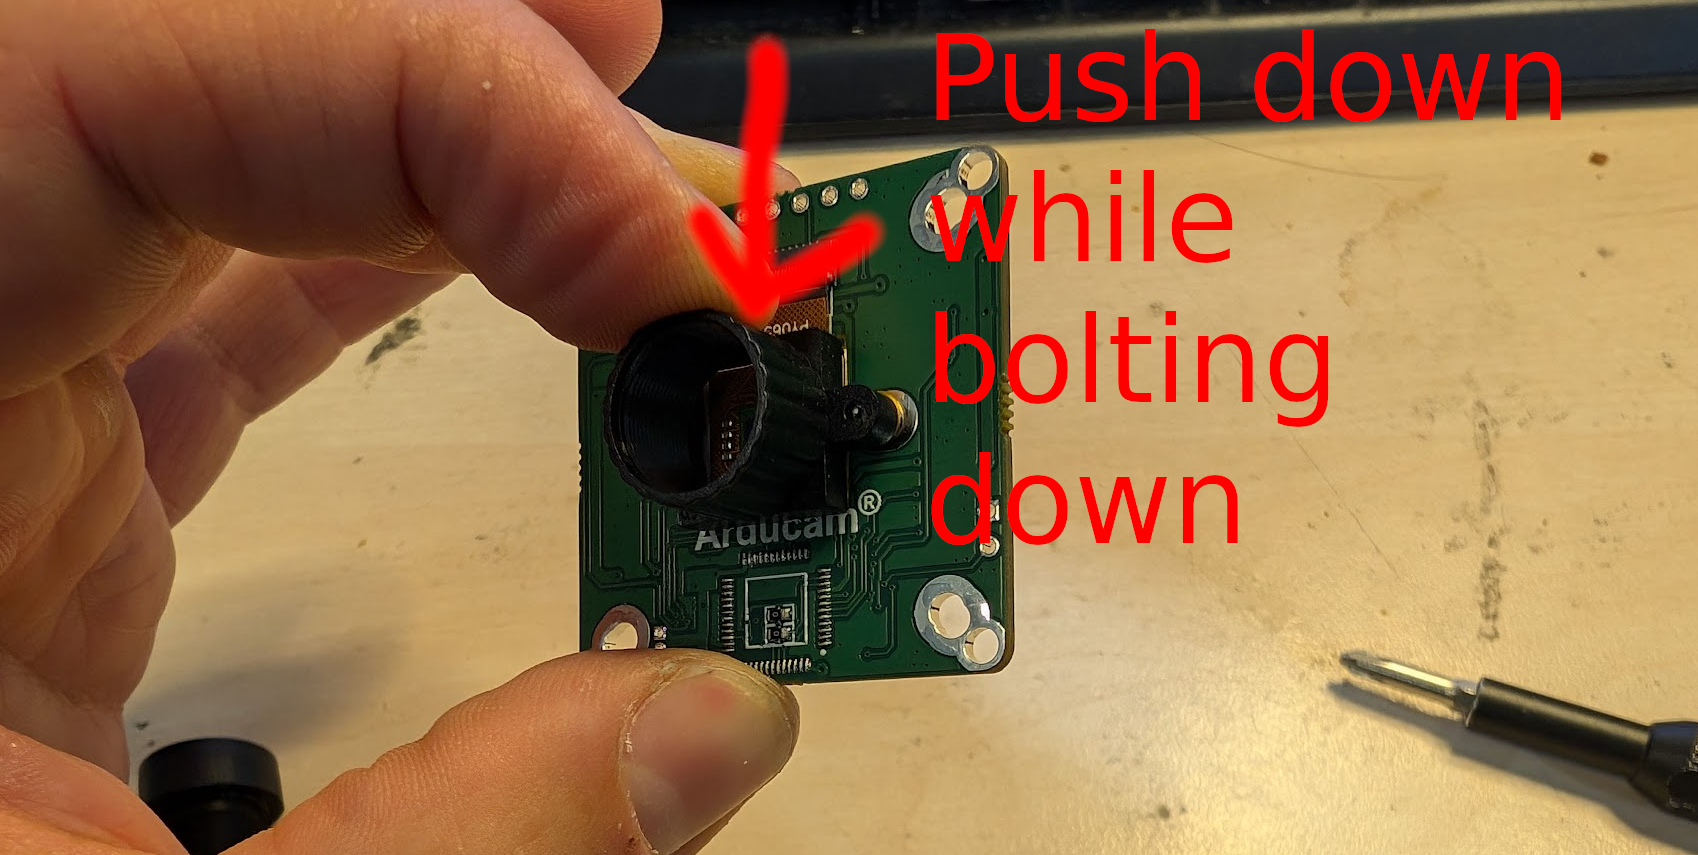
- While screwing the new mount, make sure to push it down to the side where the cable is not attached to the chip:
- Once the mount is secured, take the new lens and screw it in. Be careful not to cross-thread! The focus will be adjusted later.
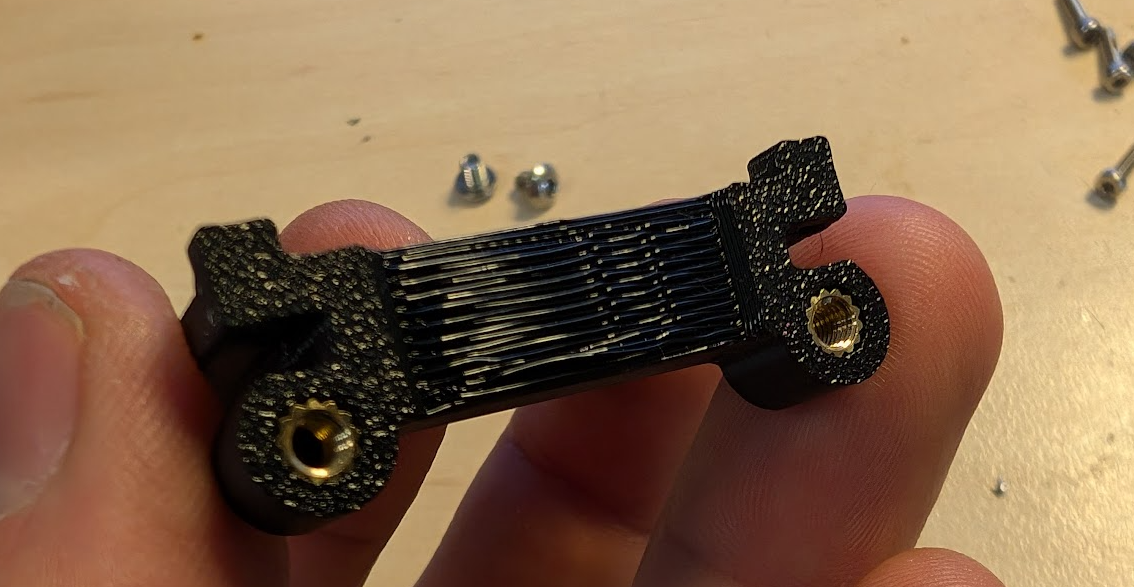
- Put 2xM3 inserts into the front camera mount:
Camera install
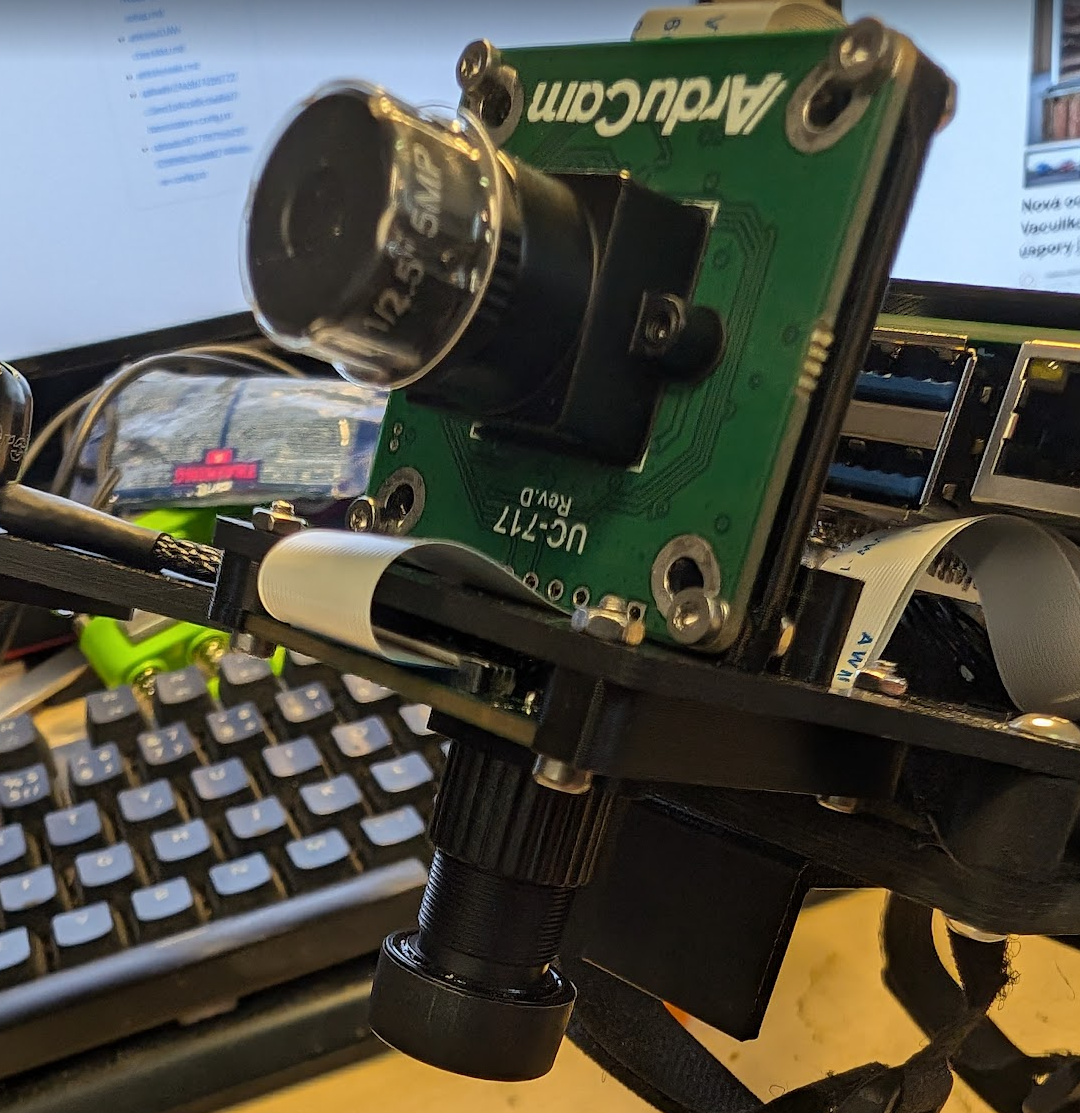
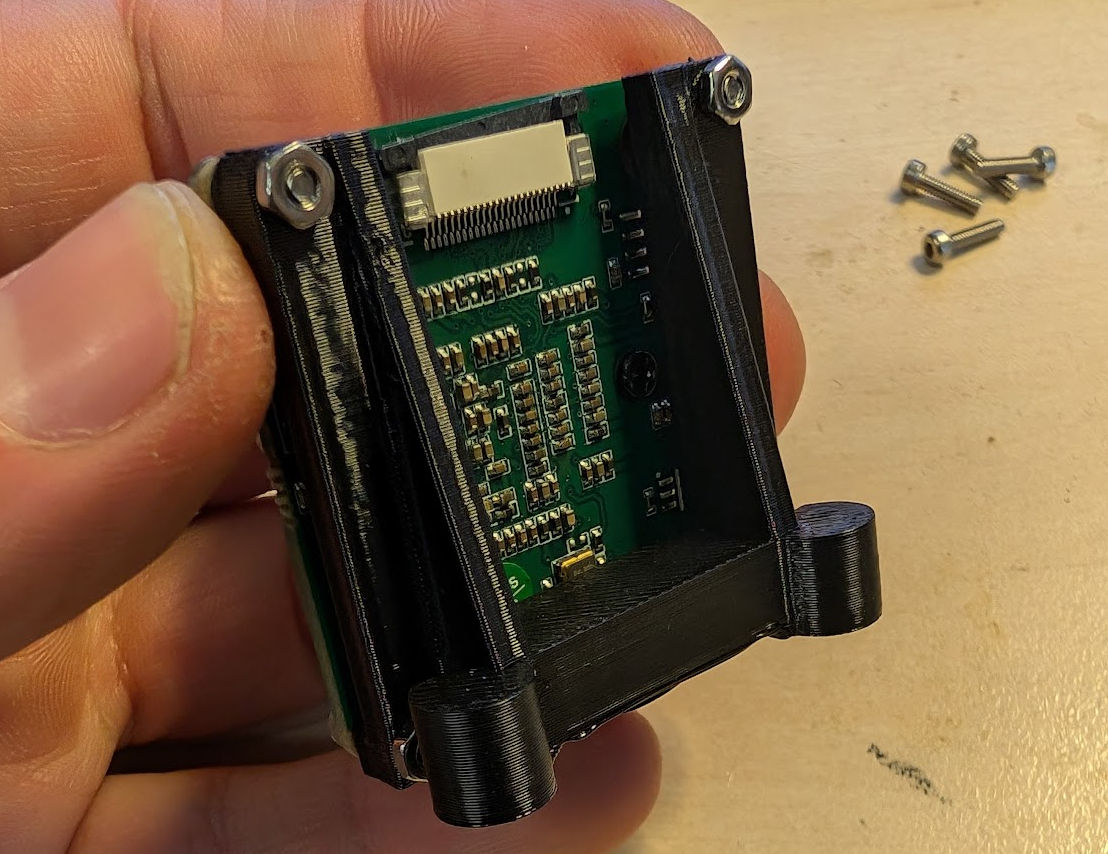
- We start with the IMX camera.
- The camera will be mounted with the connector facing up.
- Attach it with 4x M2x8 bolts and 4x M2 nuts to the 3d print:
- Mount the camera on the second set of available holes, route the lower ribbon cable under the camera:
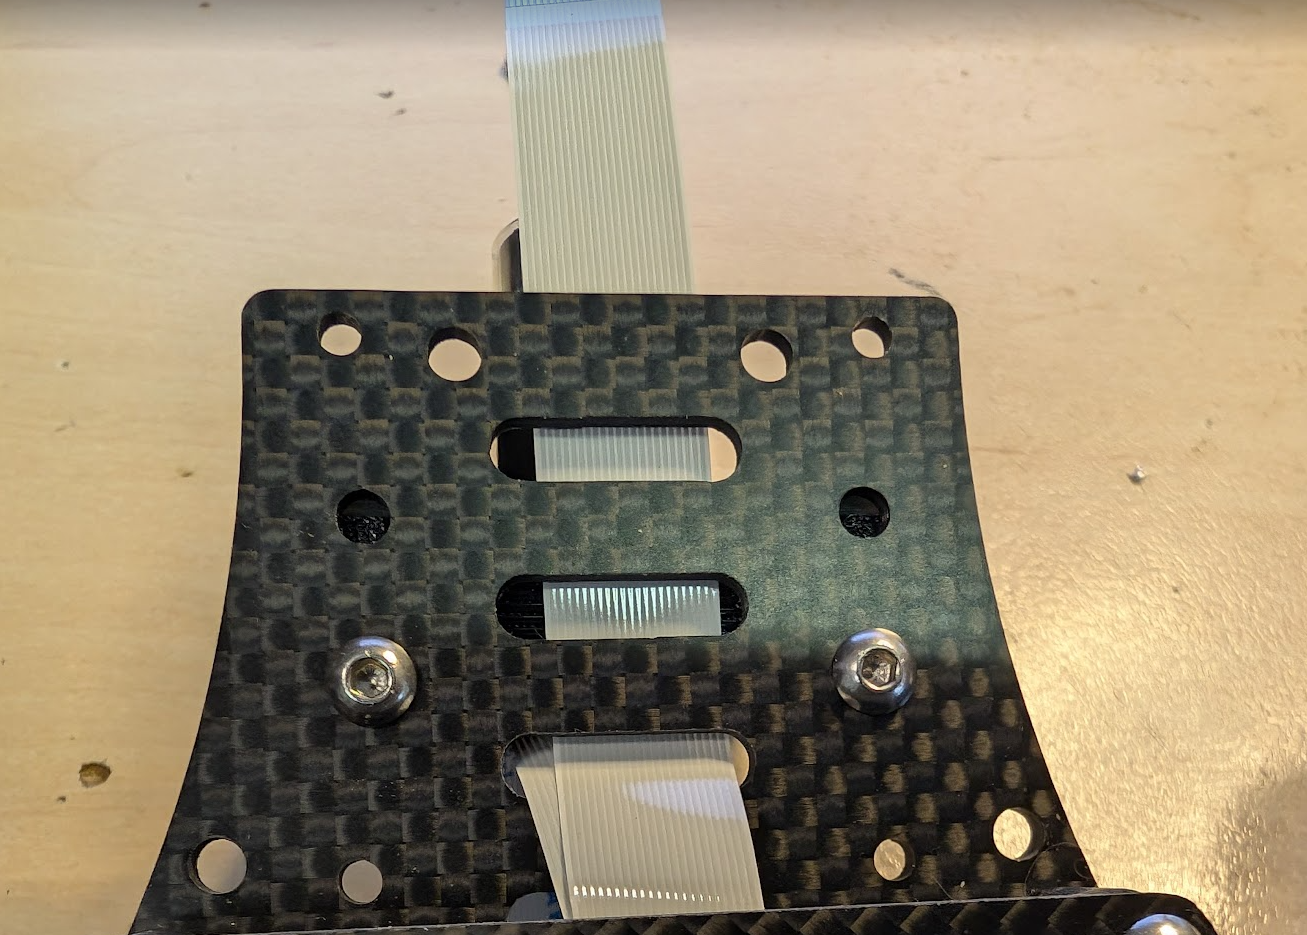
- Secure with 2x M3x4 bolts.
- Take the OV camera with the replaced lens and put it in the bottom camera mount 3D print, align the cutout with the connector:
- Attach the camera by 4x M2x10 and 4x M2 nuts, connector facing forward.
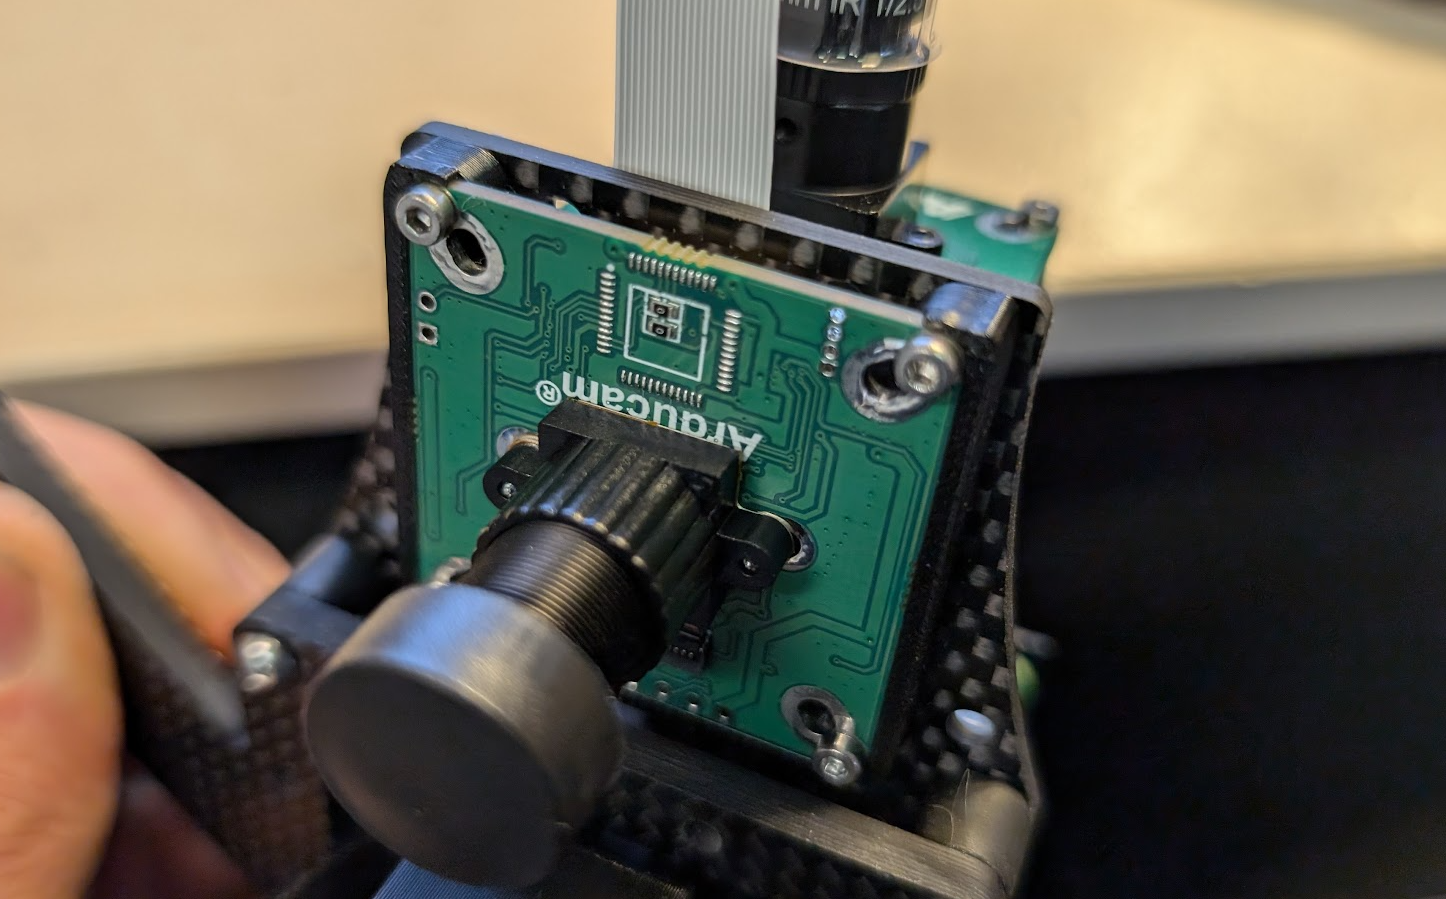
- Connect the 2 ribbon cables to the cameras: