Camera Calibration Guide
Requirements
- Working Camera: Ensure the camera is calibrated and has a focused lens.
- Data Recording Setup: Use a method to record raw camera images to a ROS bag. Ideally, utilize the UAV's NUC.
- Calibration Pattern: Use the provided calibration pattern.
- Calibration Software: Employ the Kalibr software for processing.
Setup Instructions
-
Locate a Calibration Pattern:
- Look for an existing calibration pattern mounted on a wall or box.
- If unavailable, print out the calibration pattern.
-
Prepare the Calibration Pattern:
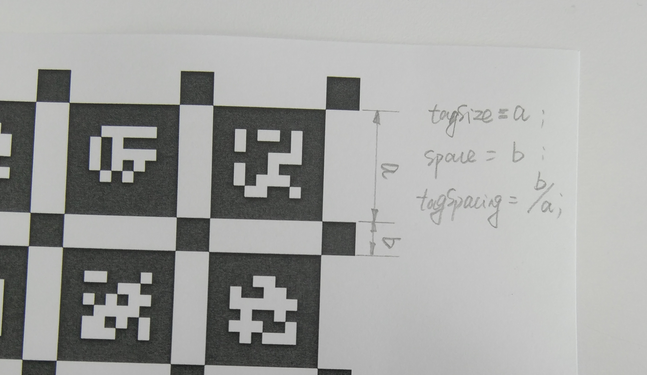
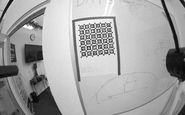
- Print the pattern and measure distances as shown in this image:
- Attach the pattern to a flat surface to ensure accuracy.
- Write down the pattern’s measurements on the paper for future reference.
- Print the pattern and measure distances as shown in this image:
-
Ensure Stability:
- The pattern must remain flat and stationary during calibration.
- Any movement, twisting, or curling will invalidate the calibration.
Recording Data
-
Preview the Camera Feed:
- Use tools like
rvizorrqt_image_viewto verify the camera is pointing correctly.
- Use tools like
-
Record the ROS Bag:
- Start recording and move the camera around to capture the calibration pattern.
- Ensure to:
- Cover different distances.
- Capture the pattern from all sides.
- Cover the camera’s entire field of view (FOV).
- Keep the entire pattern visible in every frame.
-
Tips for Recording:
-
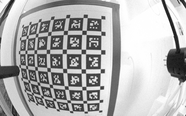
Include corner coverage:
-
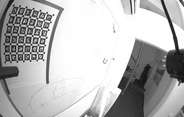
Capture skewed views from sides, top, and bottom:
-
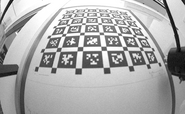
Record at varied distances:
-
Duration: Depending on framerate, usually a few minutes is fine, it is good to aim for 200+ usable frames.
-
Calibration Process
-
Follow the README instructions in the Kalibr Docker repository to perform the calibration.
-
Save the calibration results:
- Store them in the customer’s example session (F4F).
- Link the calibration data to the appropriate camera launch file.
-
Verify the Calibration:
- Confirm the camera calibration is correctly applied when launching the camera driver node.